STOP GUESSING. START REFFING.
$199
FREE during early access
Tested in: Ableton • Reaper • Logic Pro • FL Studio
no account required
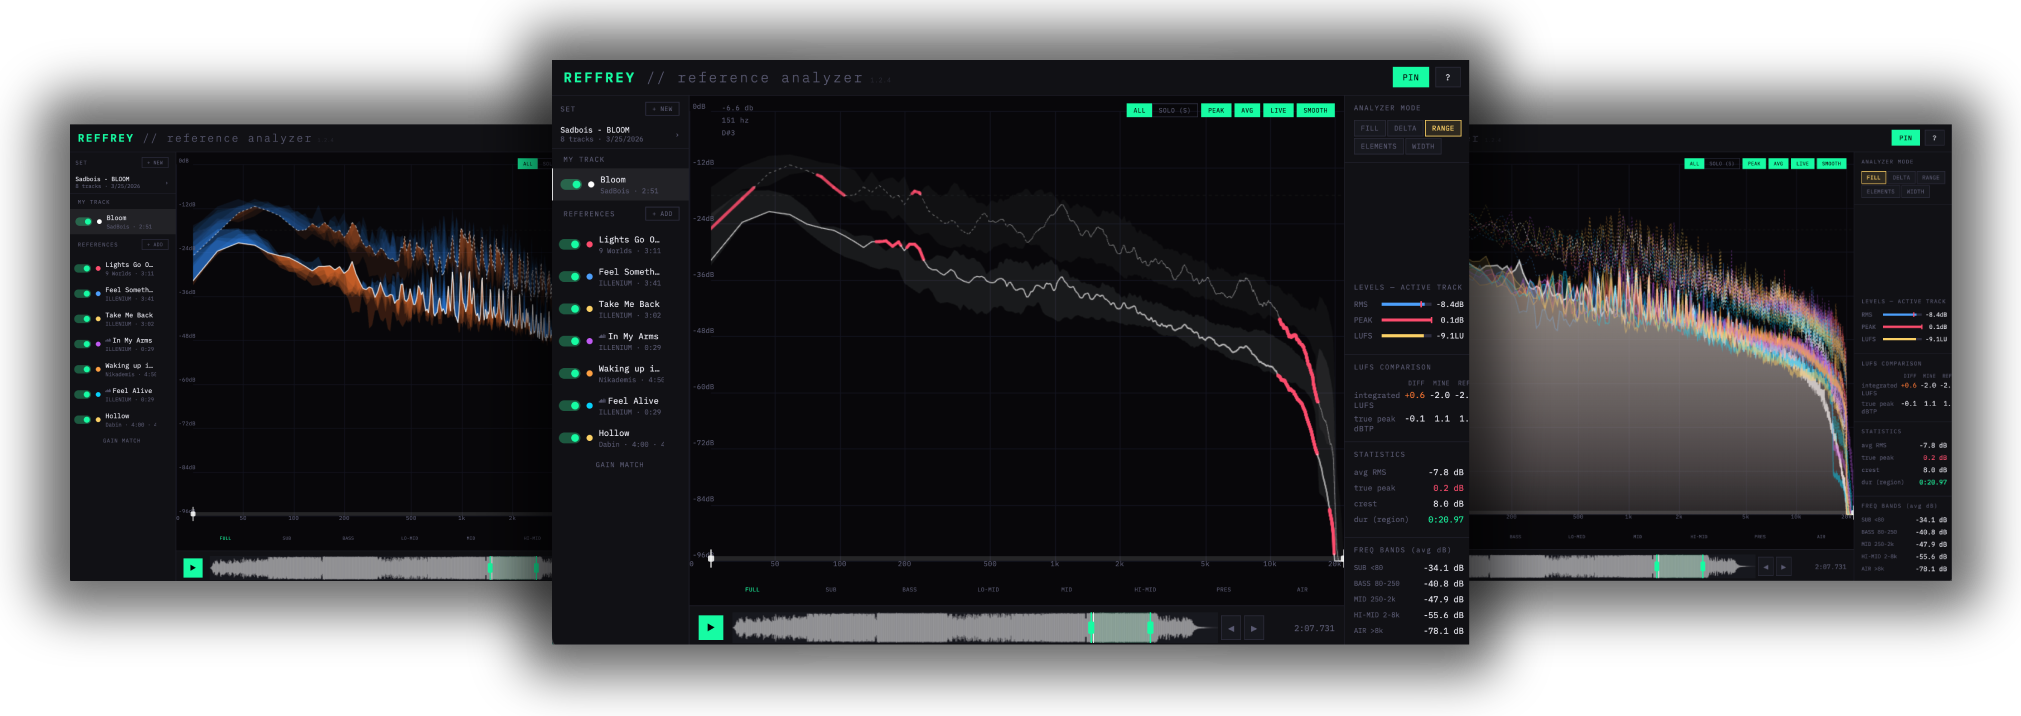
Your map to festival-ready sound
We've completely rethought reference tracks to give you the most accurate, precise, and actionable picture of how to make your tracks hit as hard as your favorite artists.
Instantly see where your mix is off
DIFF mode provides a simple, accurate view of where your track sits compared to your whole group of references.
Know exactly what to adjust
PARTS mode gives you the finest level of detail available… maybe ever. Identify exactly where certain elements like sub, kick, snare, leads, vocals, etc. sit in your references, and adjust yours to match.
Save and import reference tracks
Reference tracks are automatically saved into your reference library, so you can get the next project going with a single click. No reference tracks? No problem. Search and import 30-second clips of any track directly with our Deezer integration.
PLUS
- ▸Gain matching
- ▸Real-time stereo width comparison
- ▸Loudness metering (LUFS, RMS, peak)
- ▸Lightweight VST3 / AU plugin — pure passthrough, zero latency impact
- ▸Tested in Ableton, Reaper, Logic, and FL Studio. May work in other DAWs that support VST3 / AU plugins
- ▸Apple Silicon and Mac Intel
- ▸Windows x64
$199
FREE during early access
Tested in: Ableton • Reaper • Logic Pro • FL Studio
no account required
contact: jeff@reffrey.com
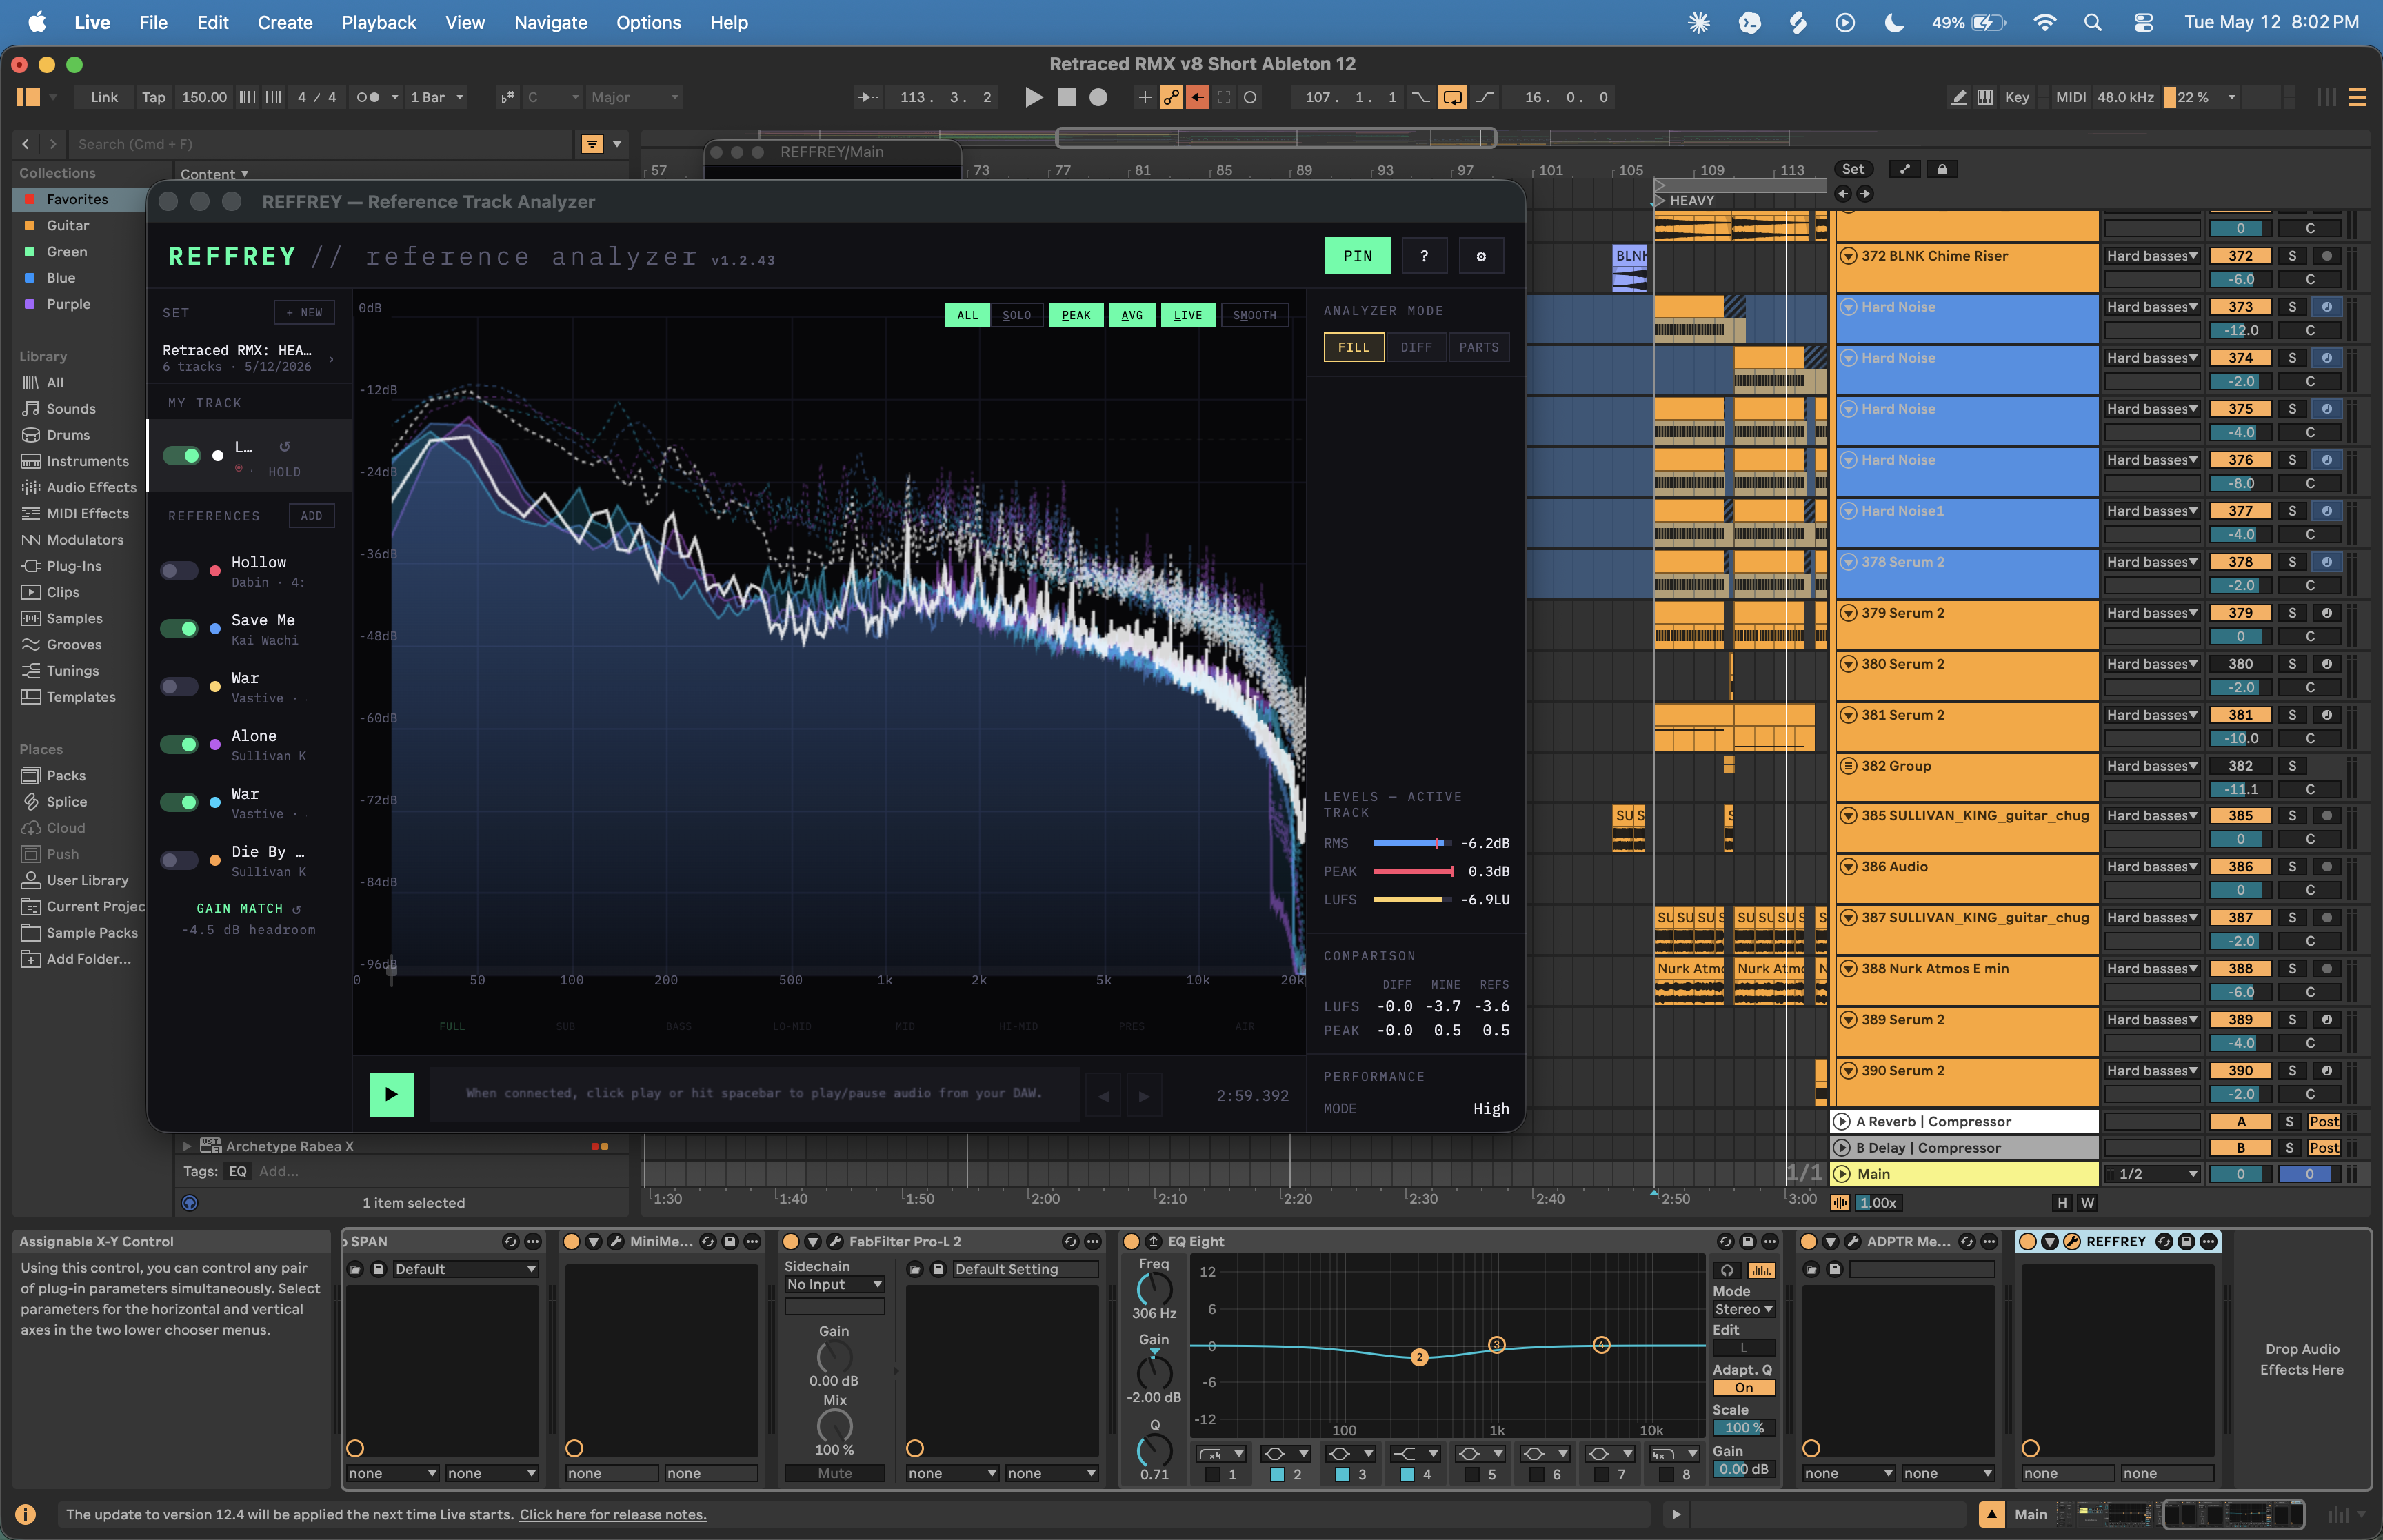
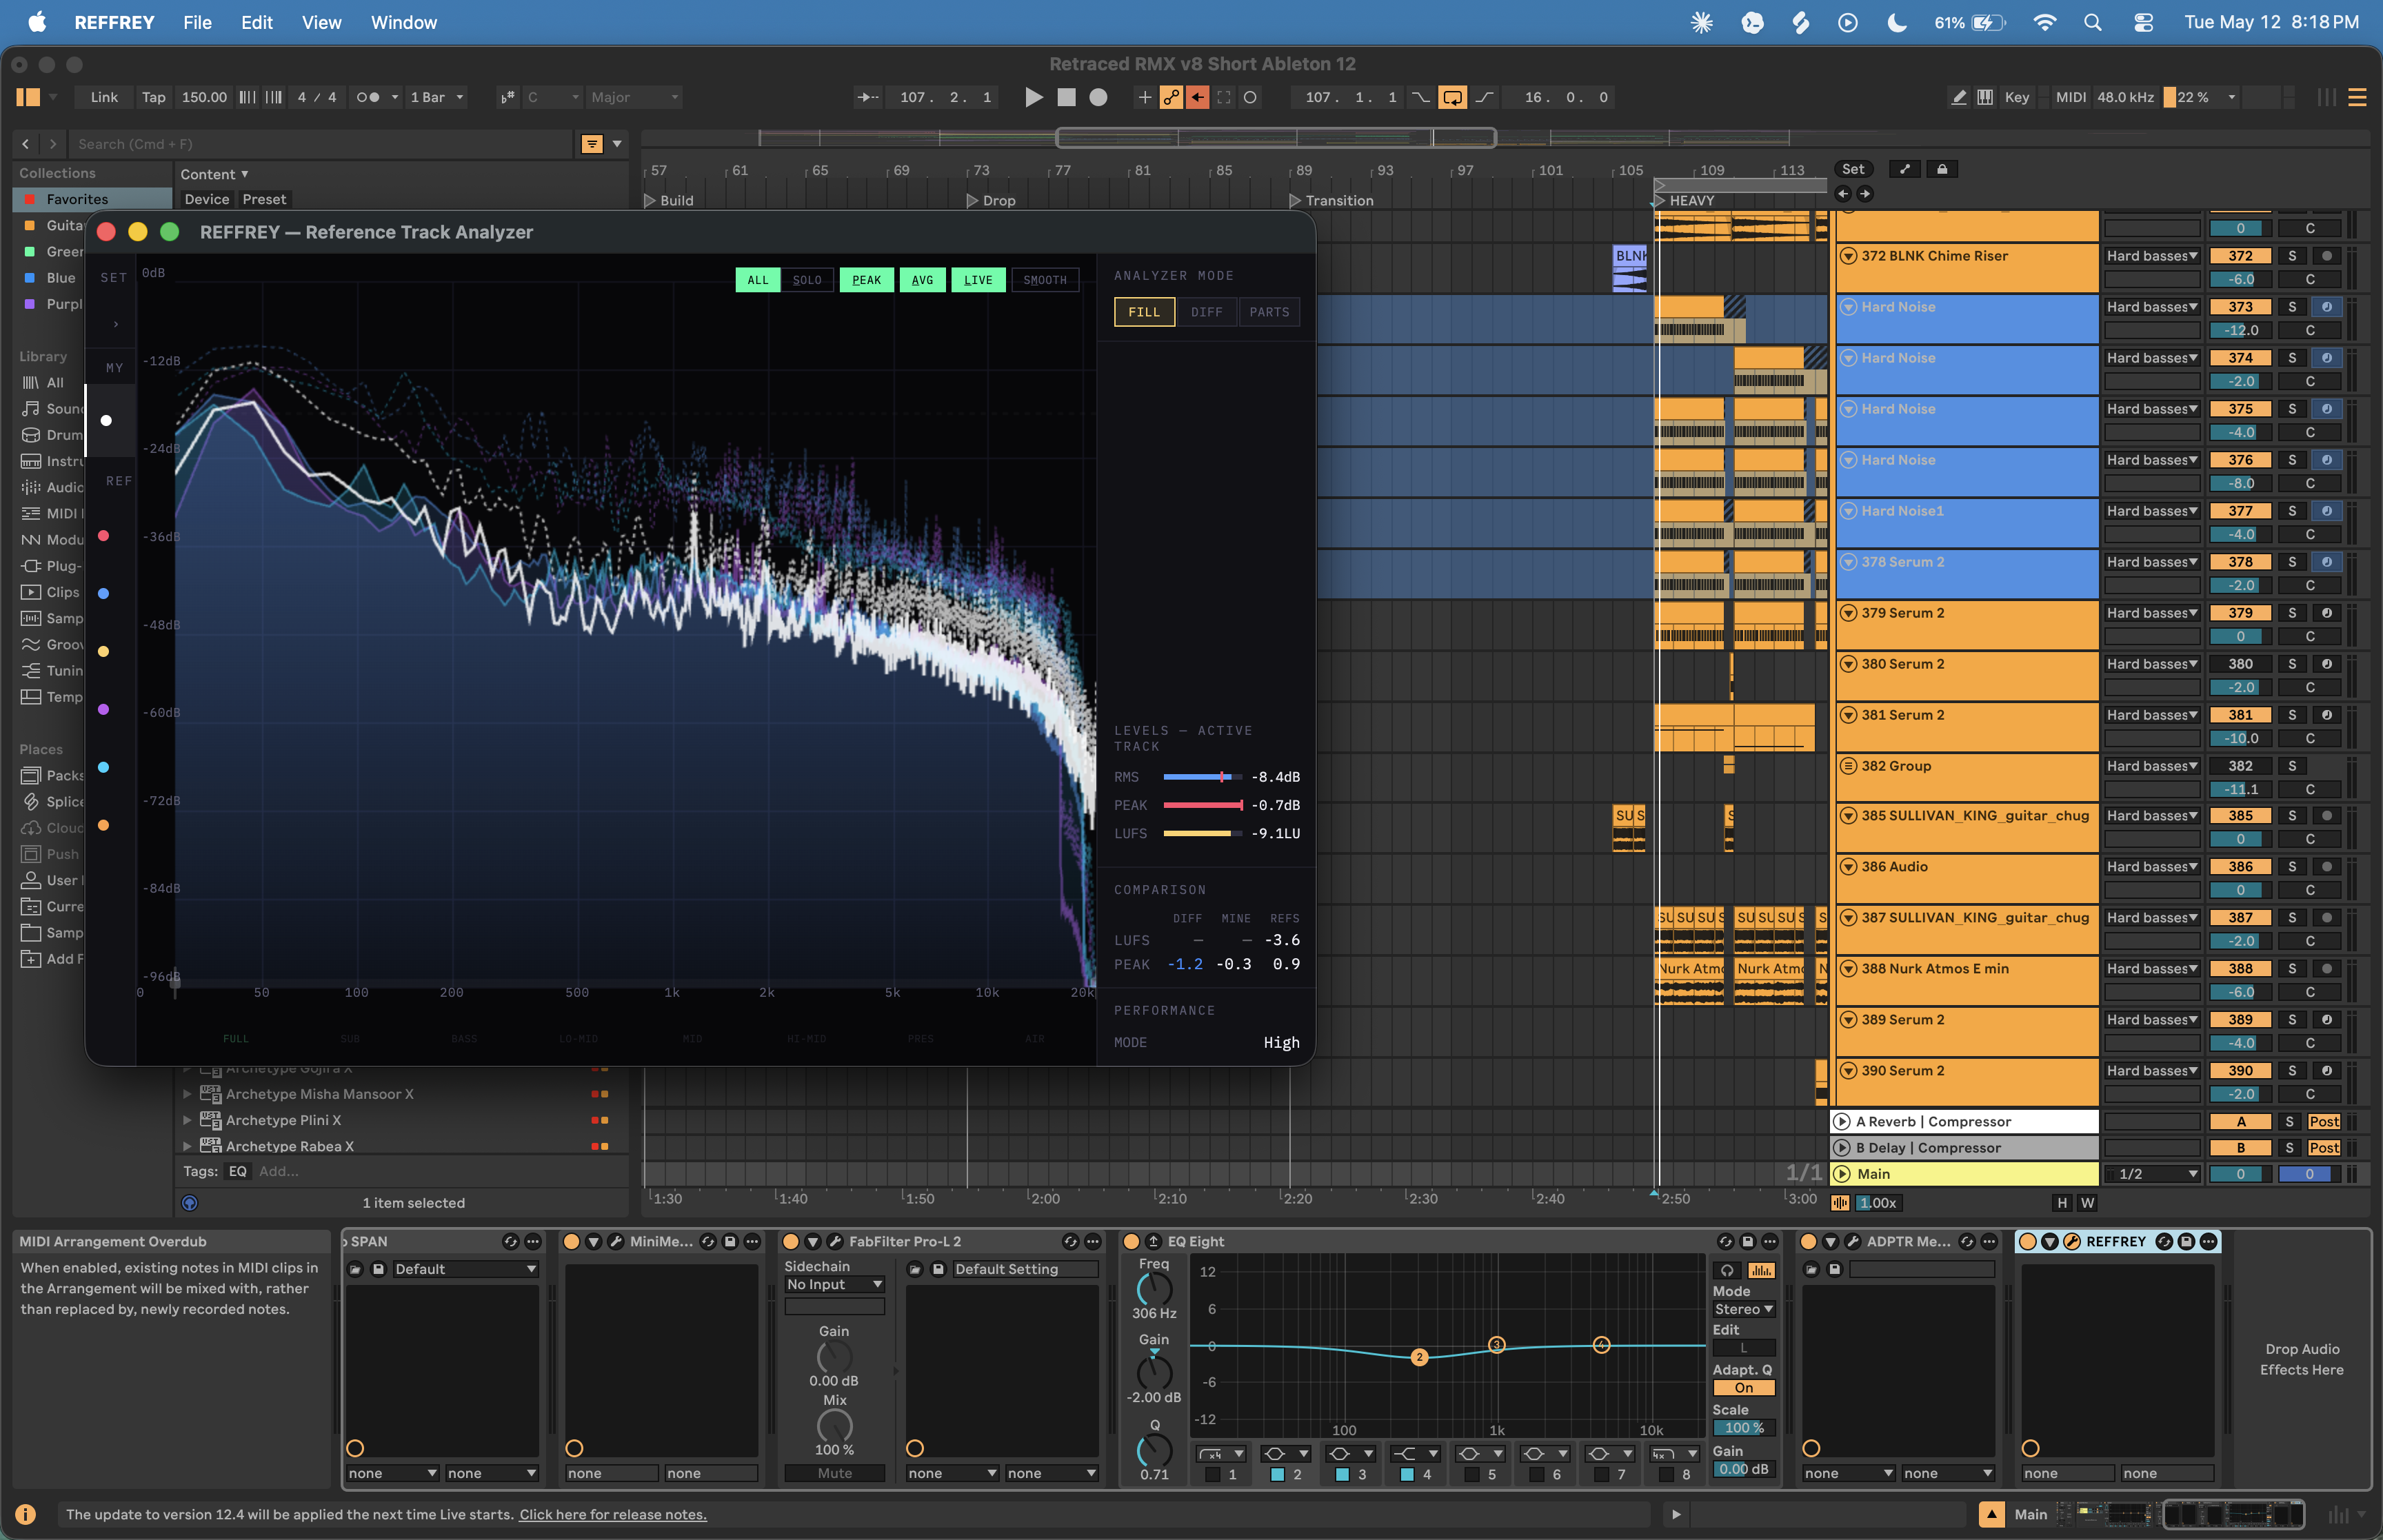
How to REFFREY
Analyzer modes

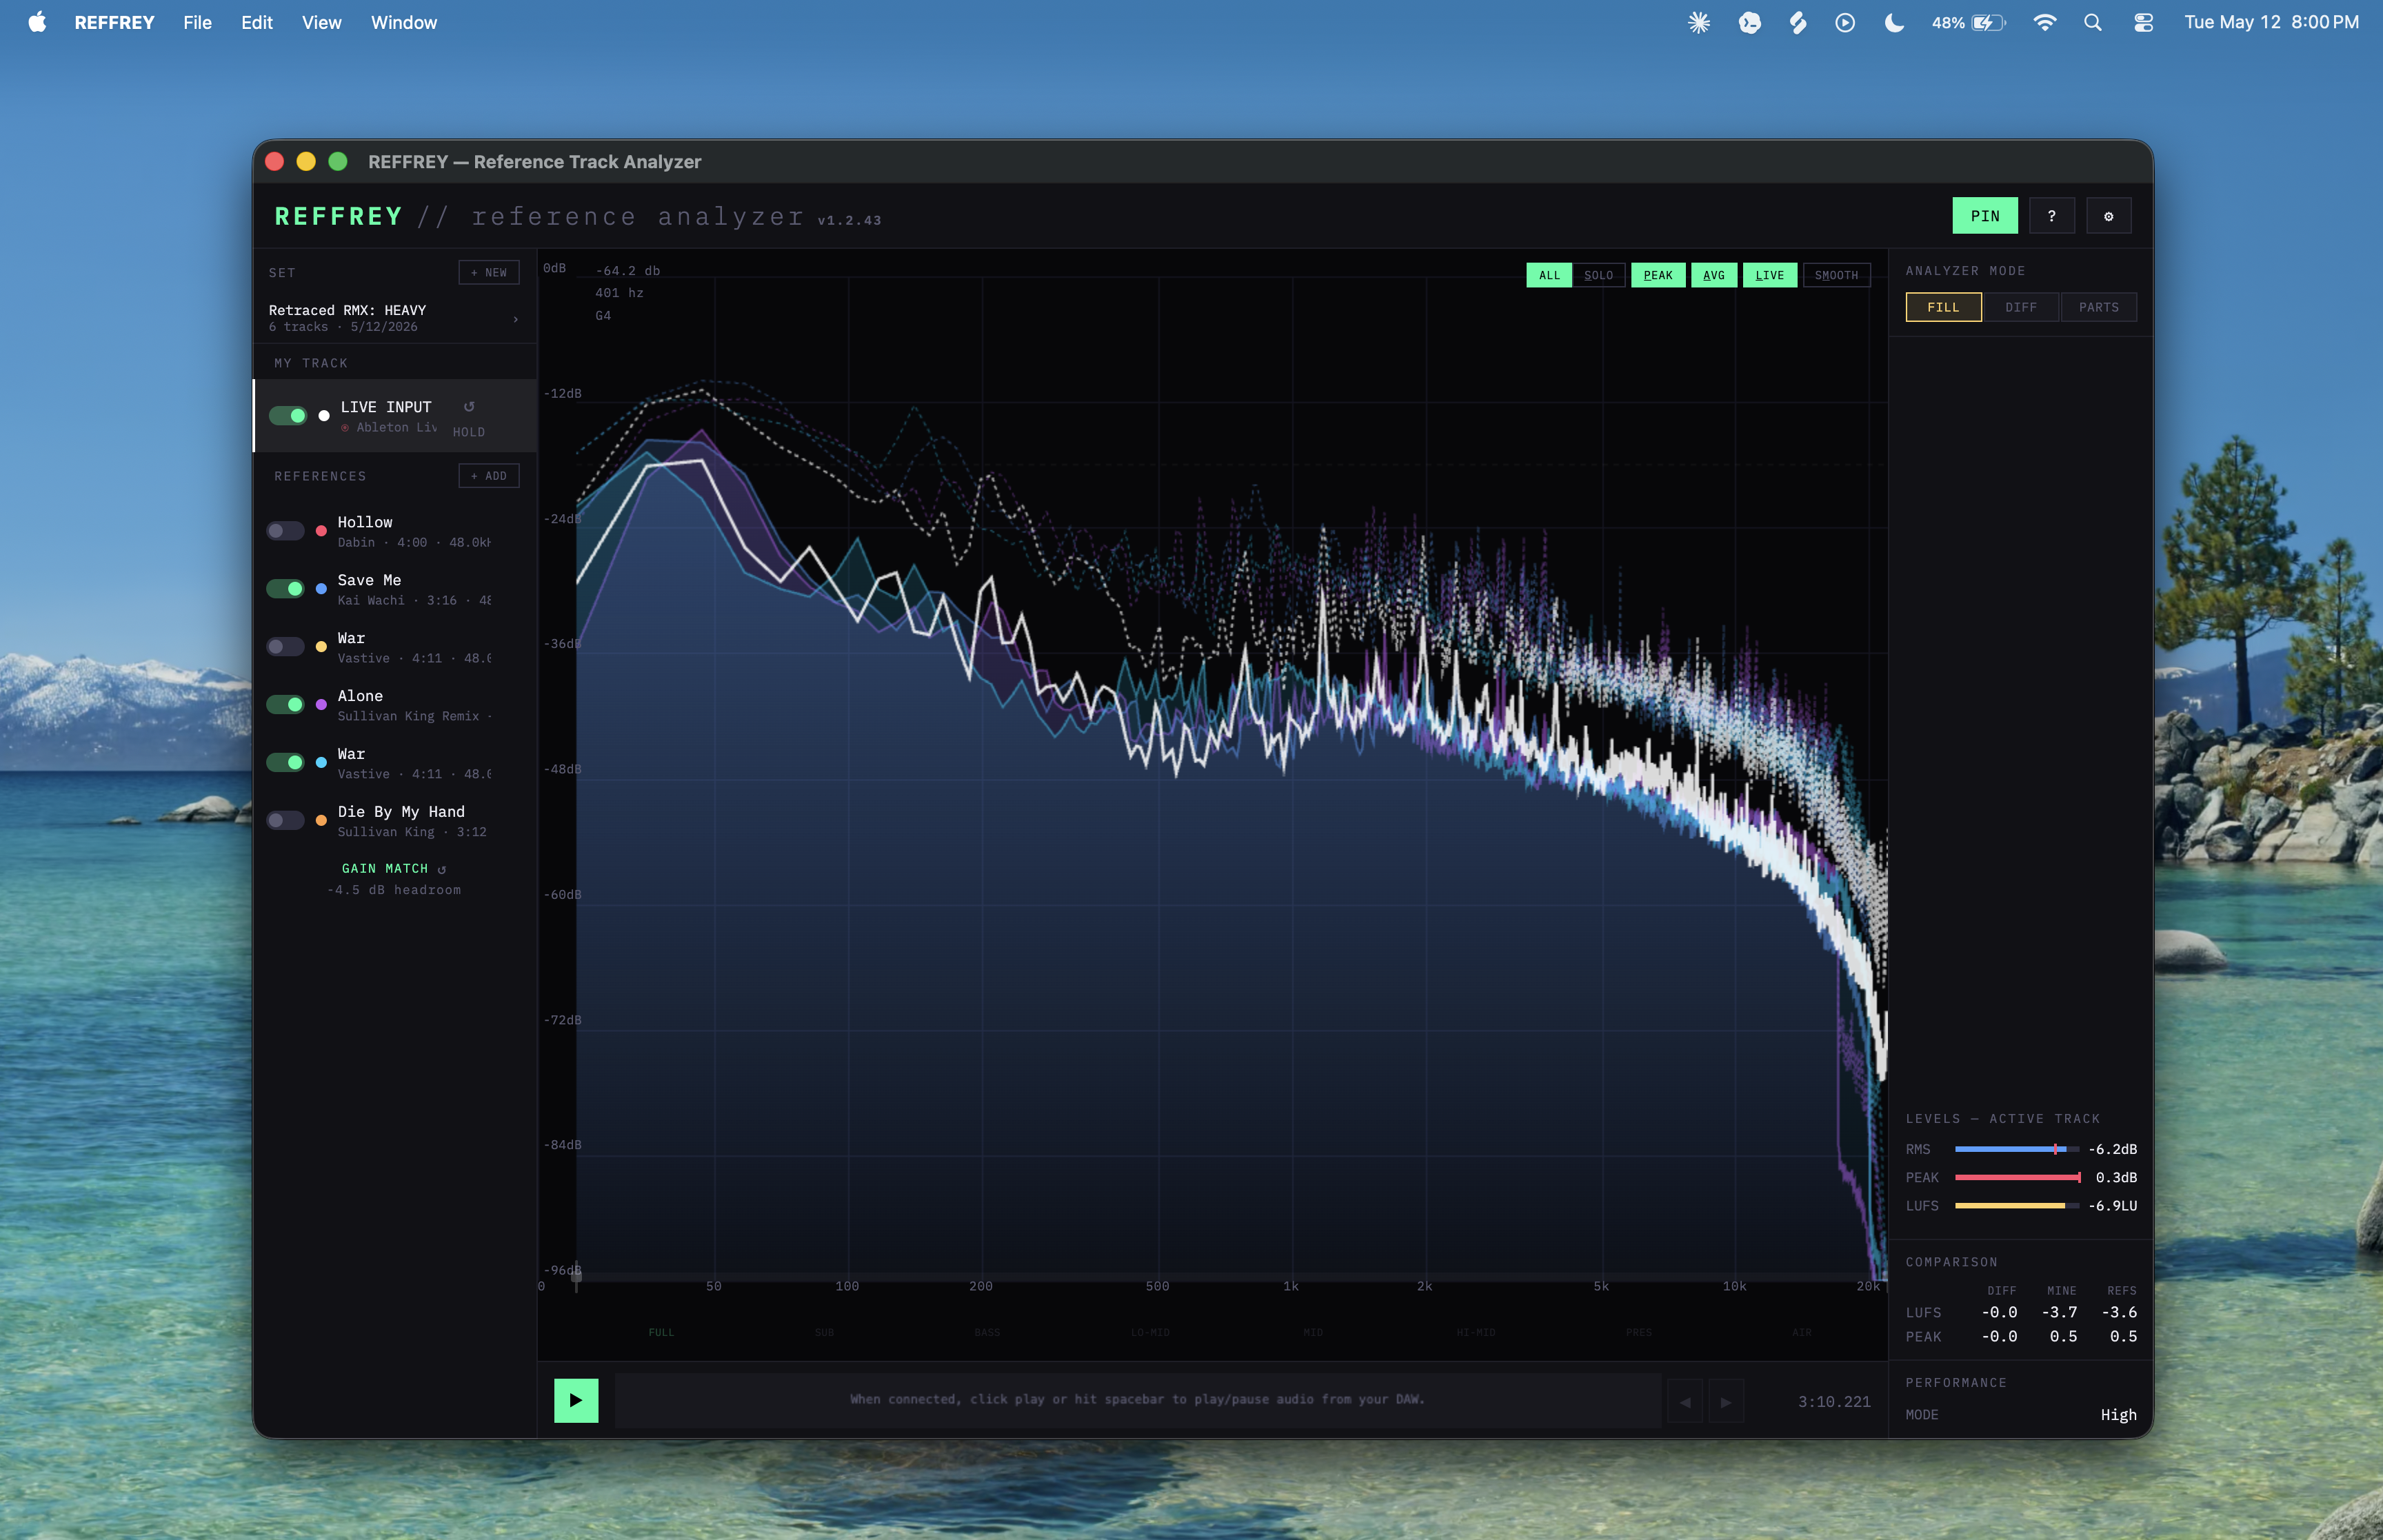
FILL
- FILL mode shows PEAK, AVG, and LIVE data for all enabled tracks. Selecting a track brings its data to the front of the chart.
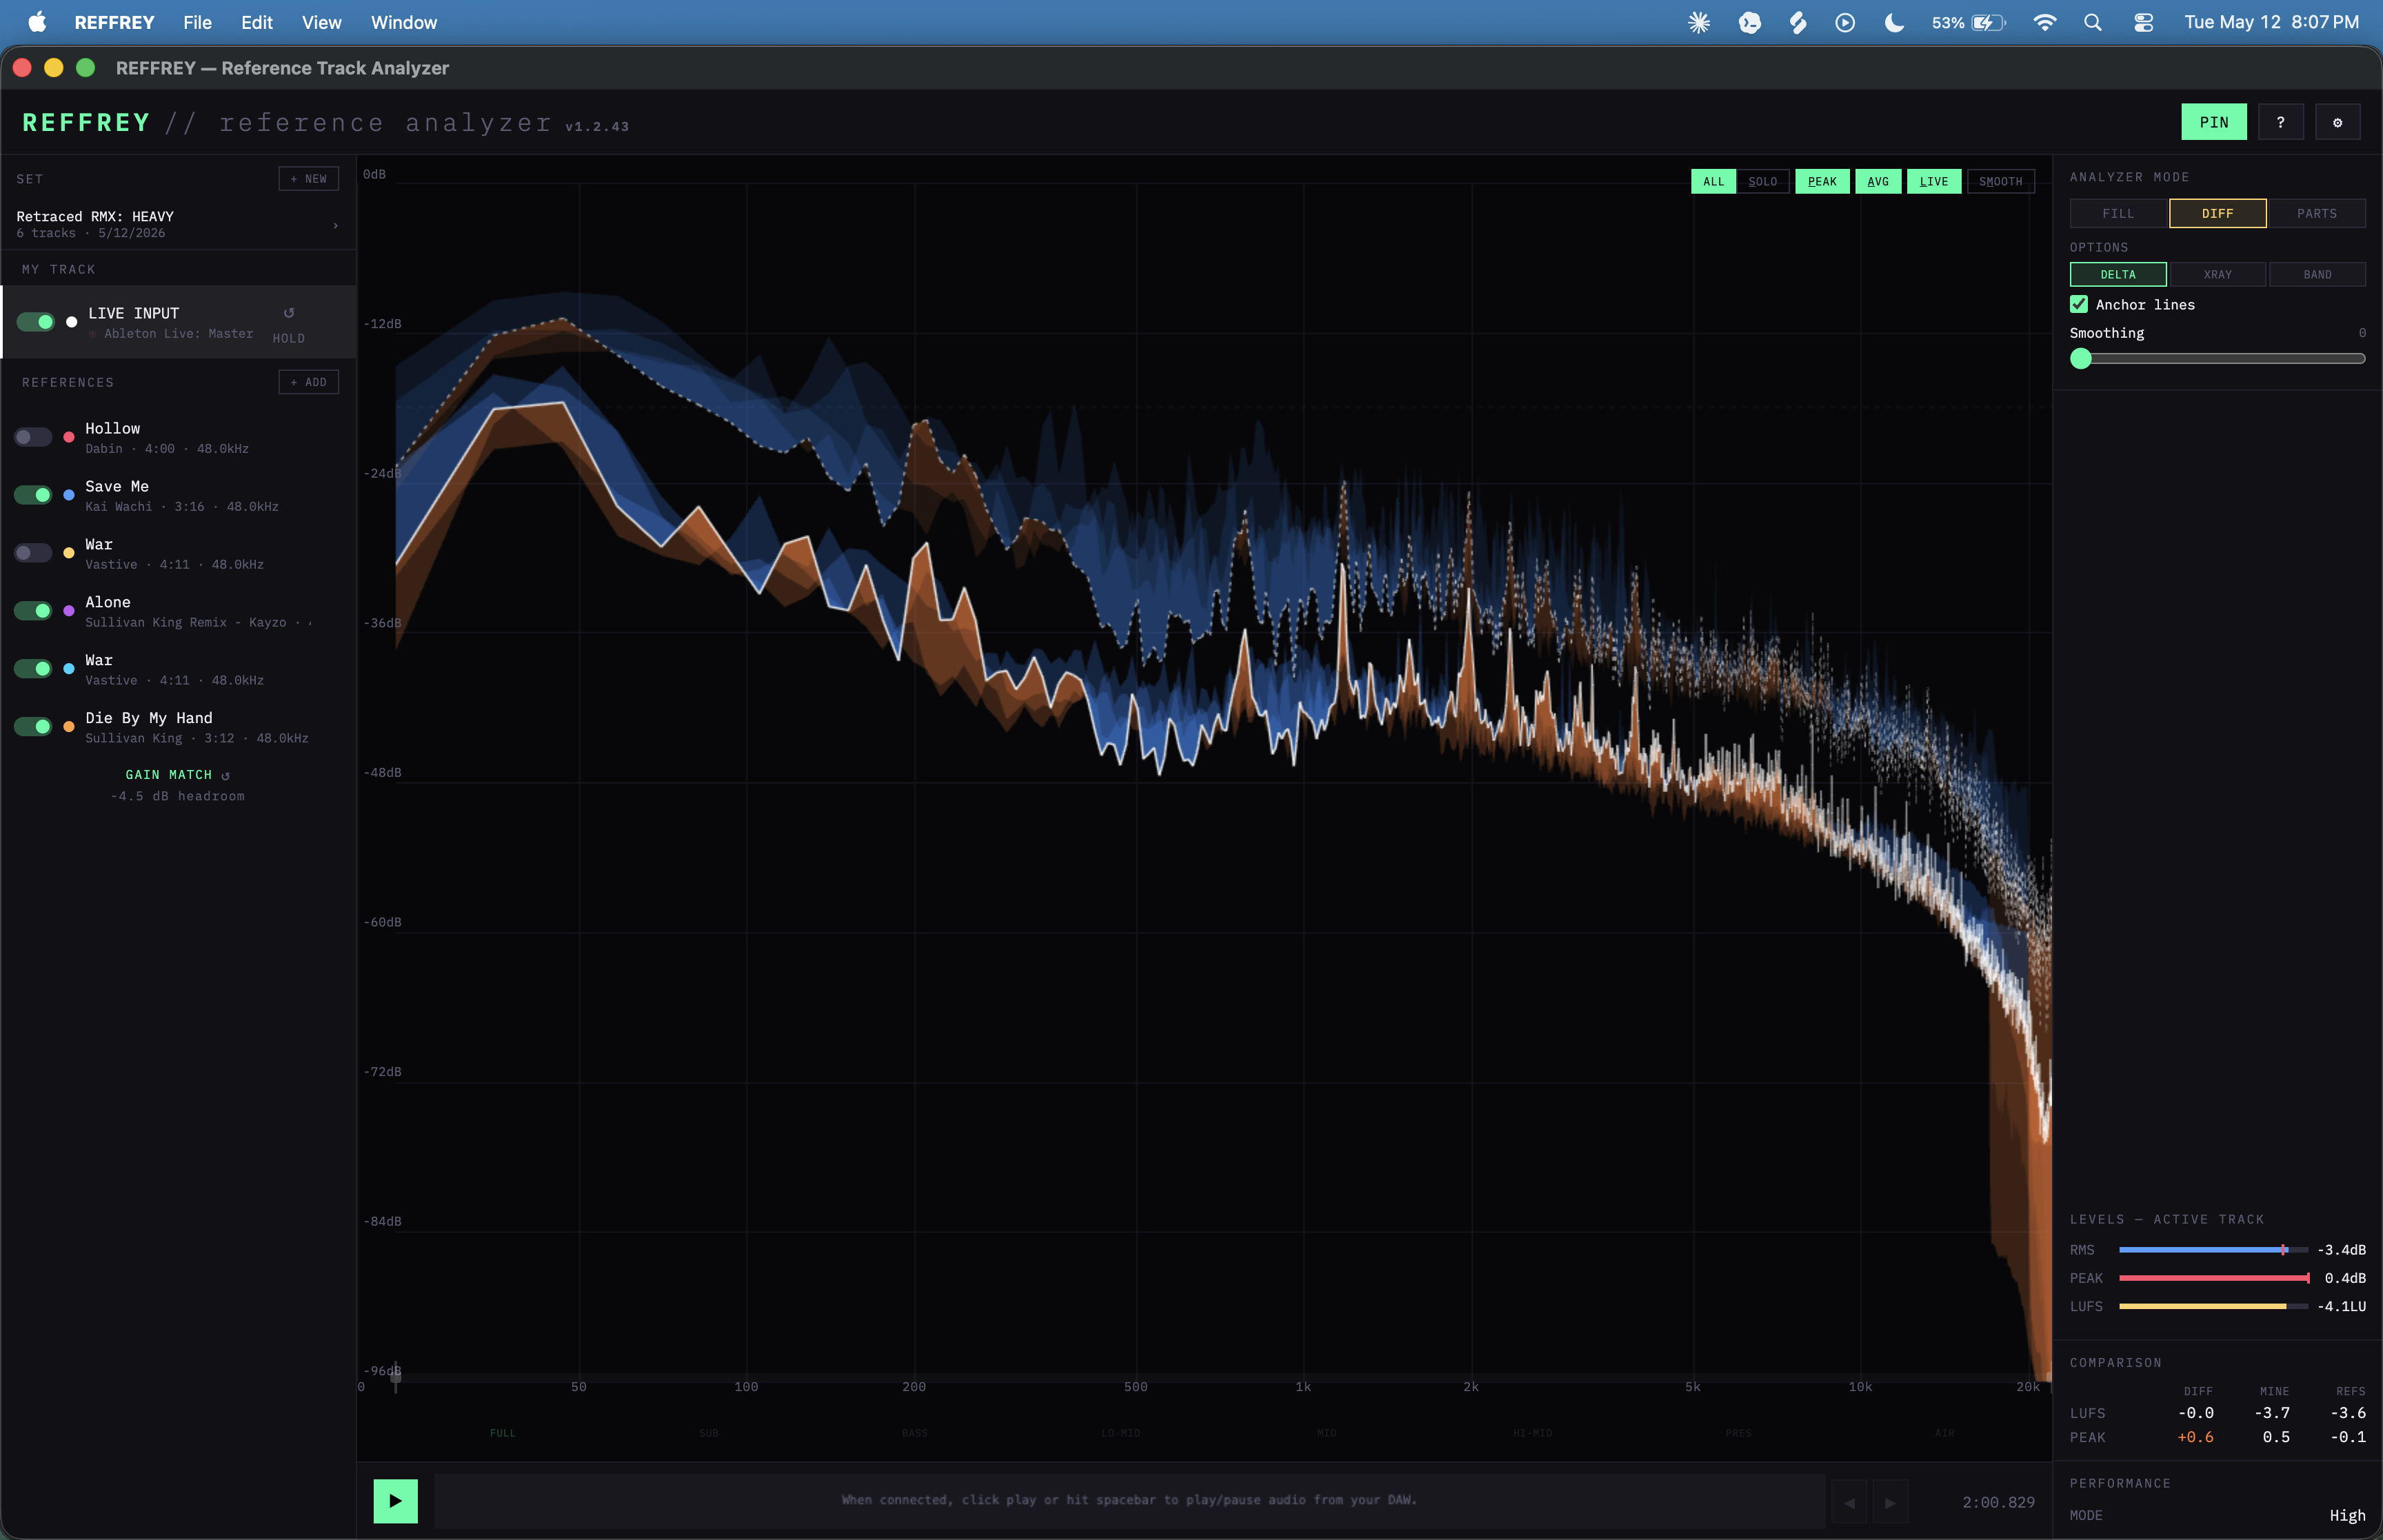
DIFF: DELTA
- DELTA mode shows how your track compares to your references by shading the differences in orange or blue. If your track is 'hotter' (higher energy) than a reference, the difference is shaded in orange. If your track is 'cooler' (lower energy), the difference is shaded in blue. Each track gets a new layer of shading, so more color means more references in that area.
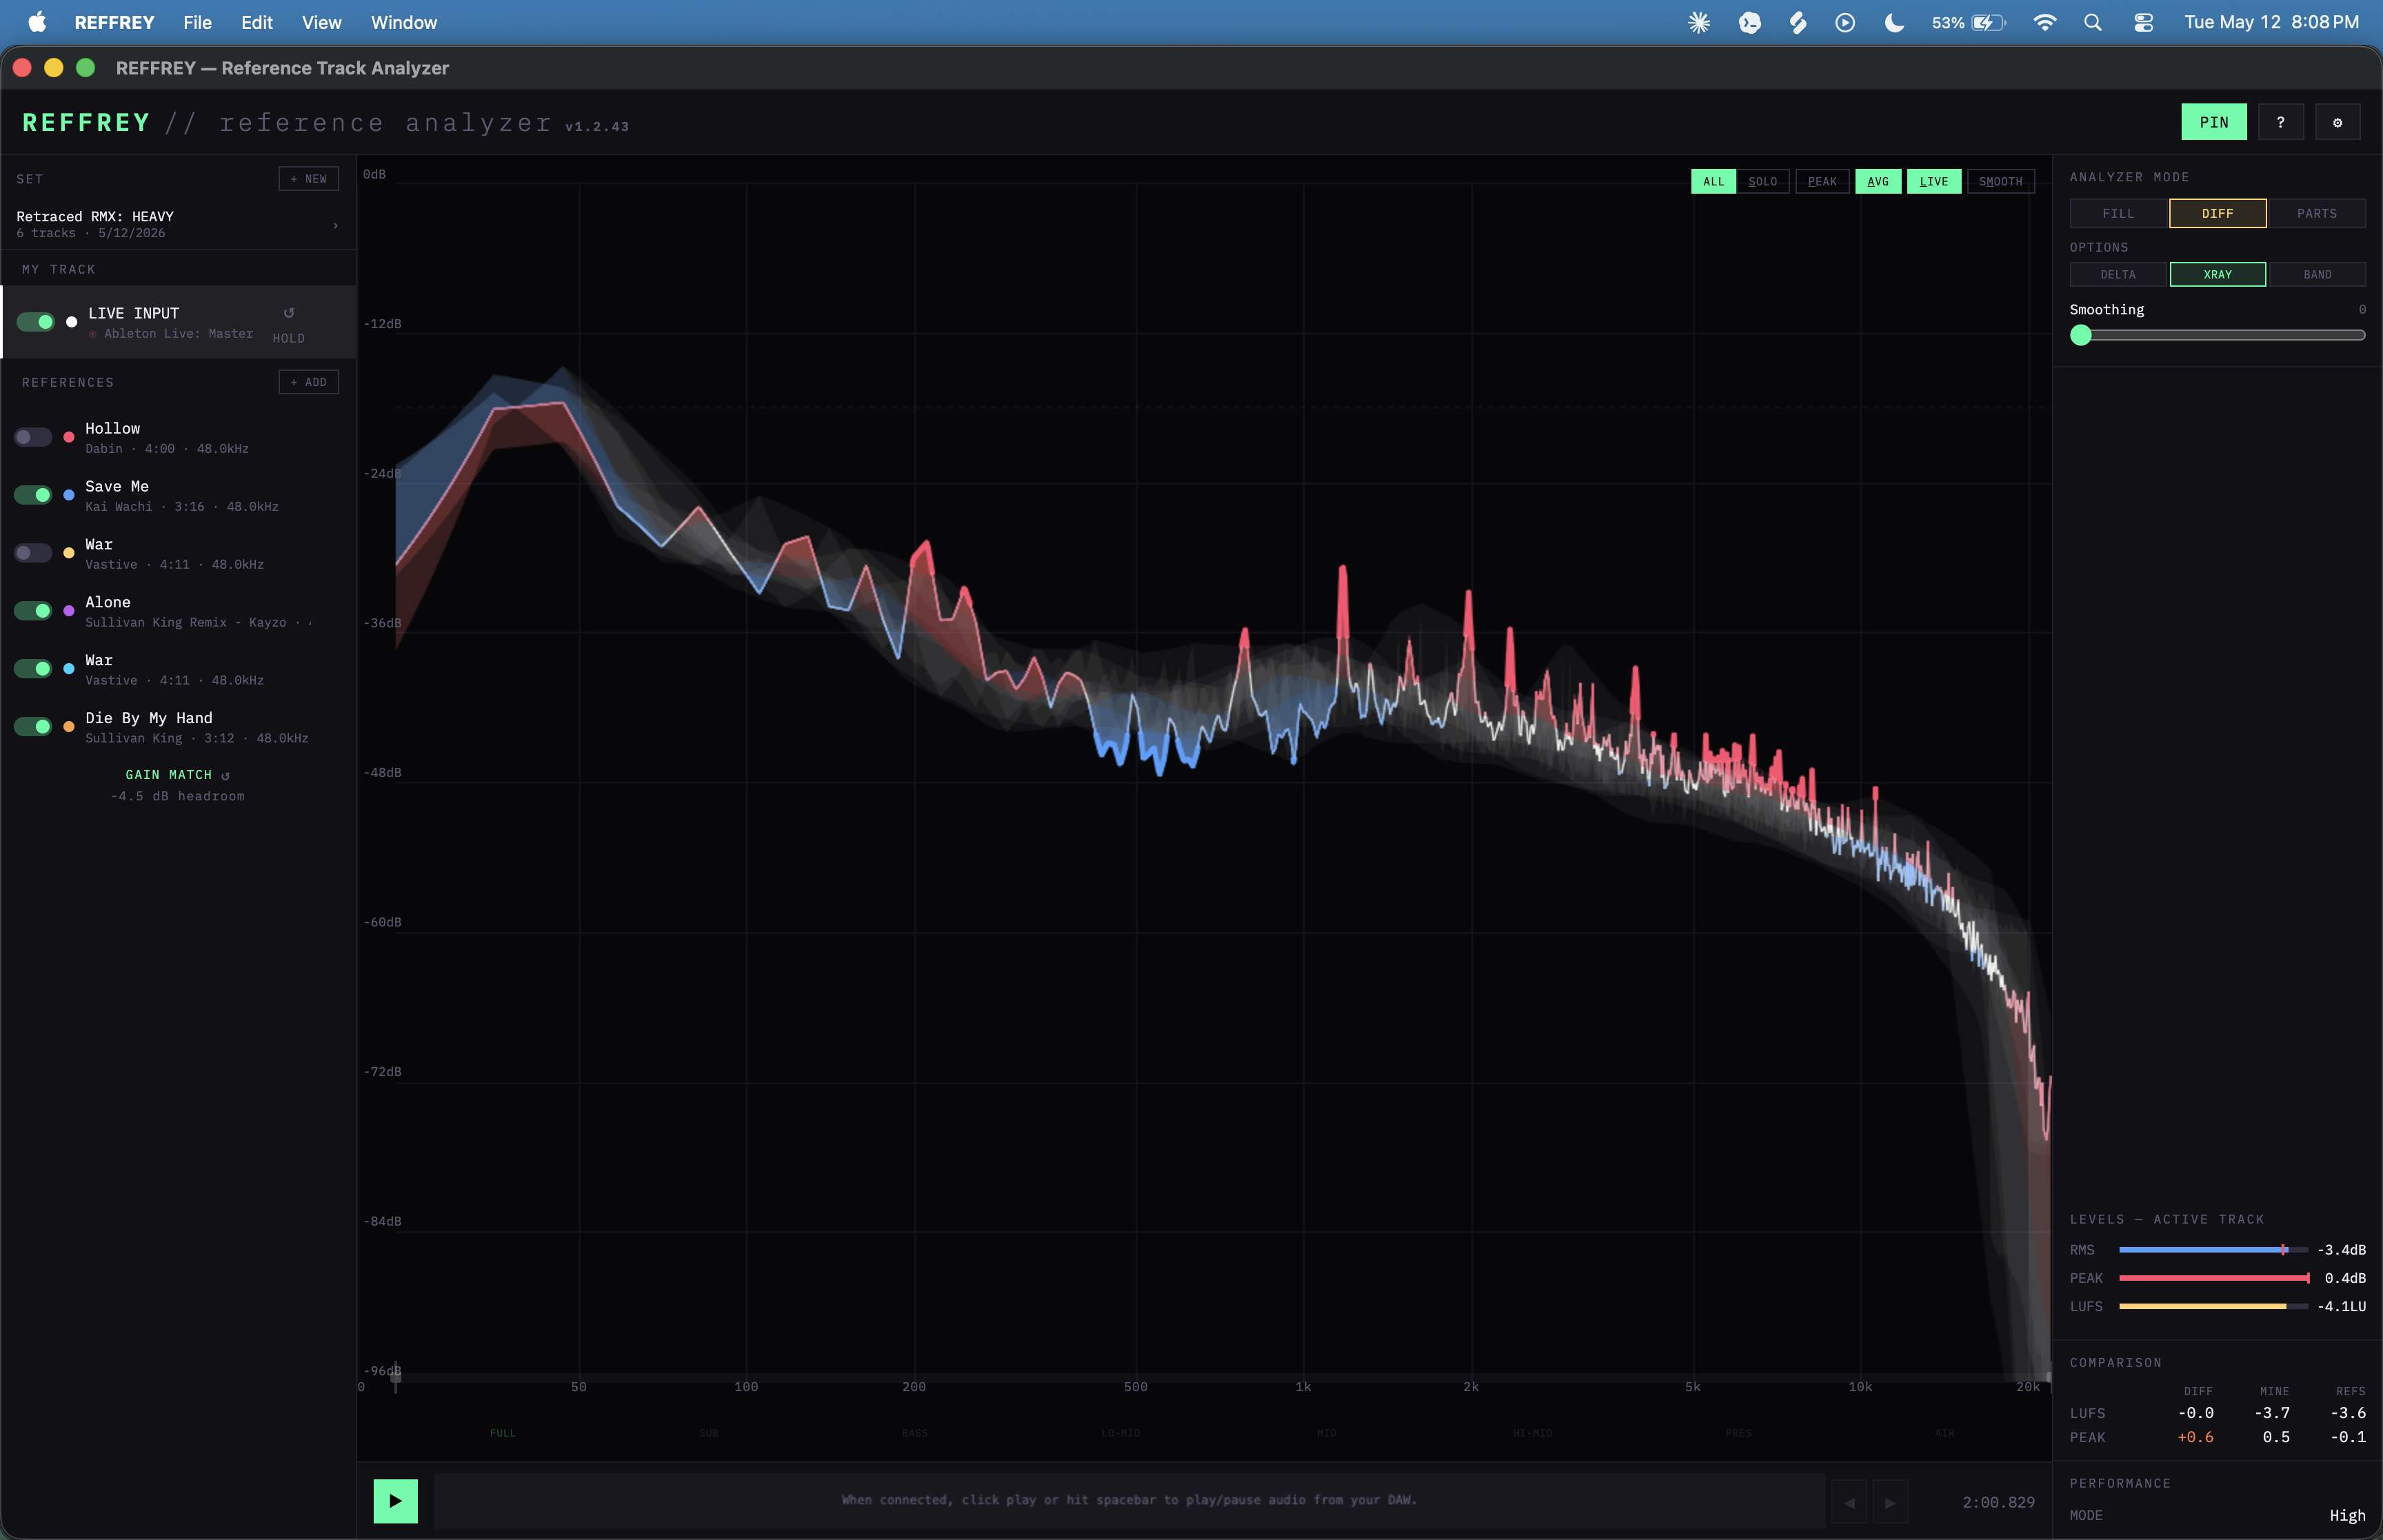
DIFF: XRAY
- XRAY mode draws a band around each reference track, and then applies a layer of red or blue shading to your track each time it falls outside a reference band (red = high, blue = low). If your track is fully outside ALL the reference bands, the line will also be highlighted in red or blue.
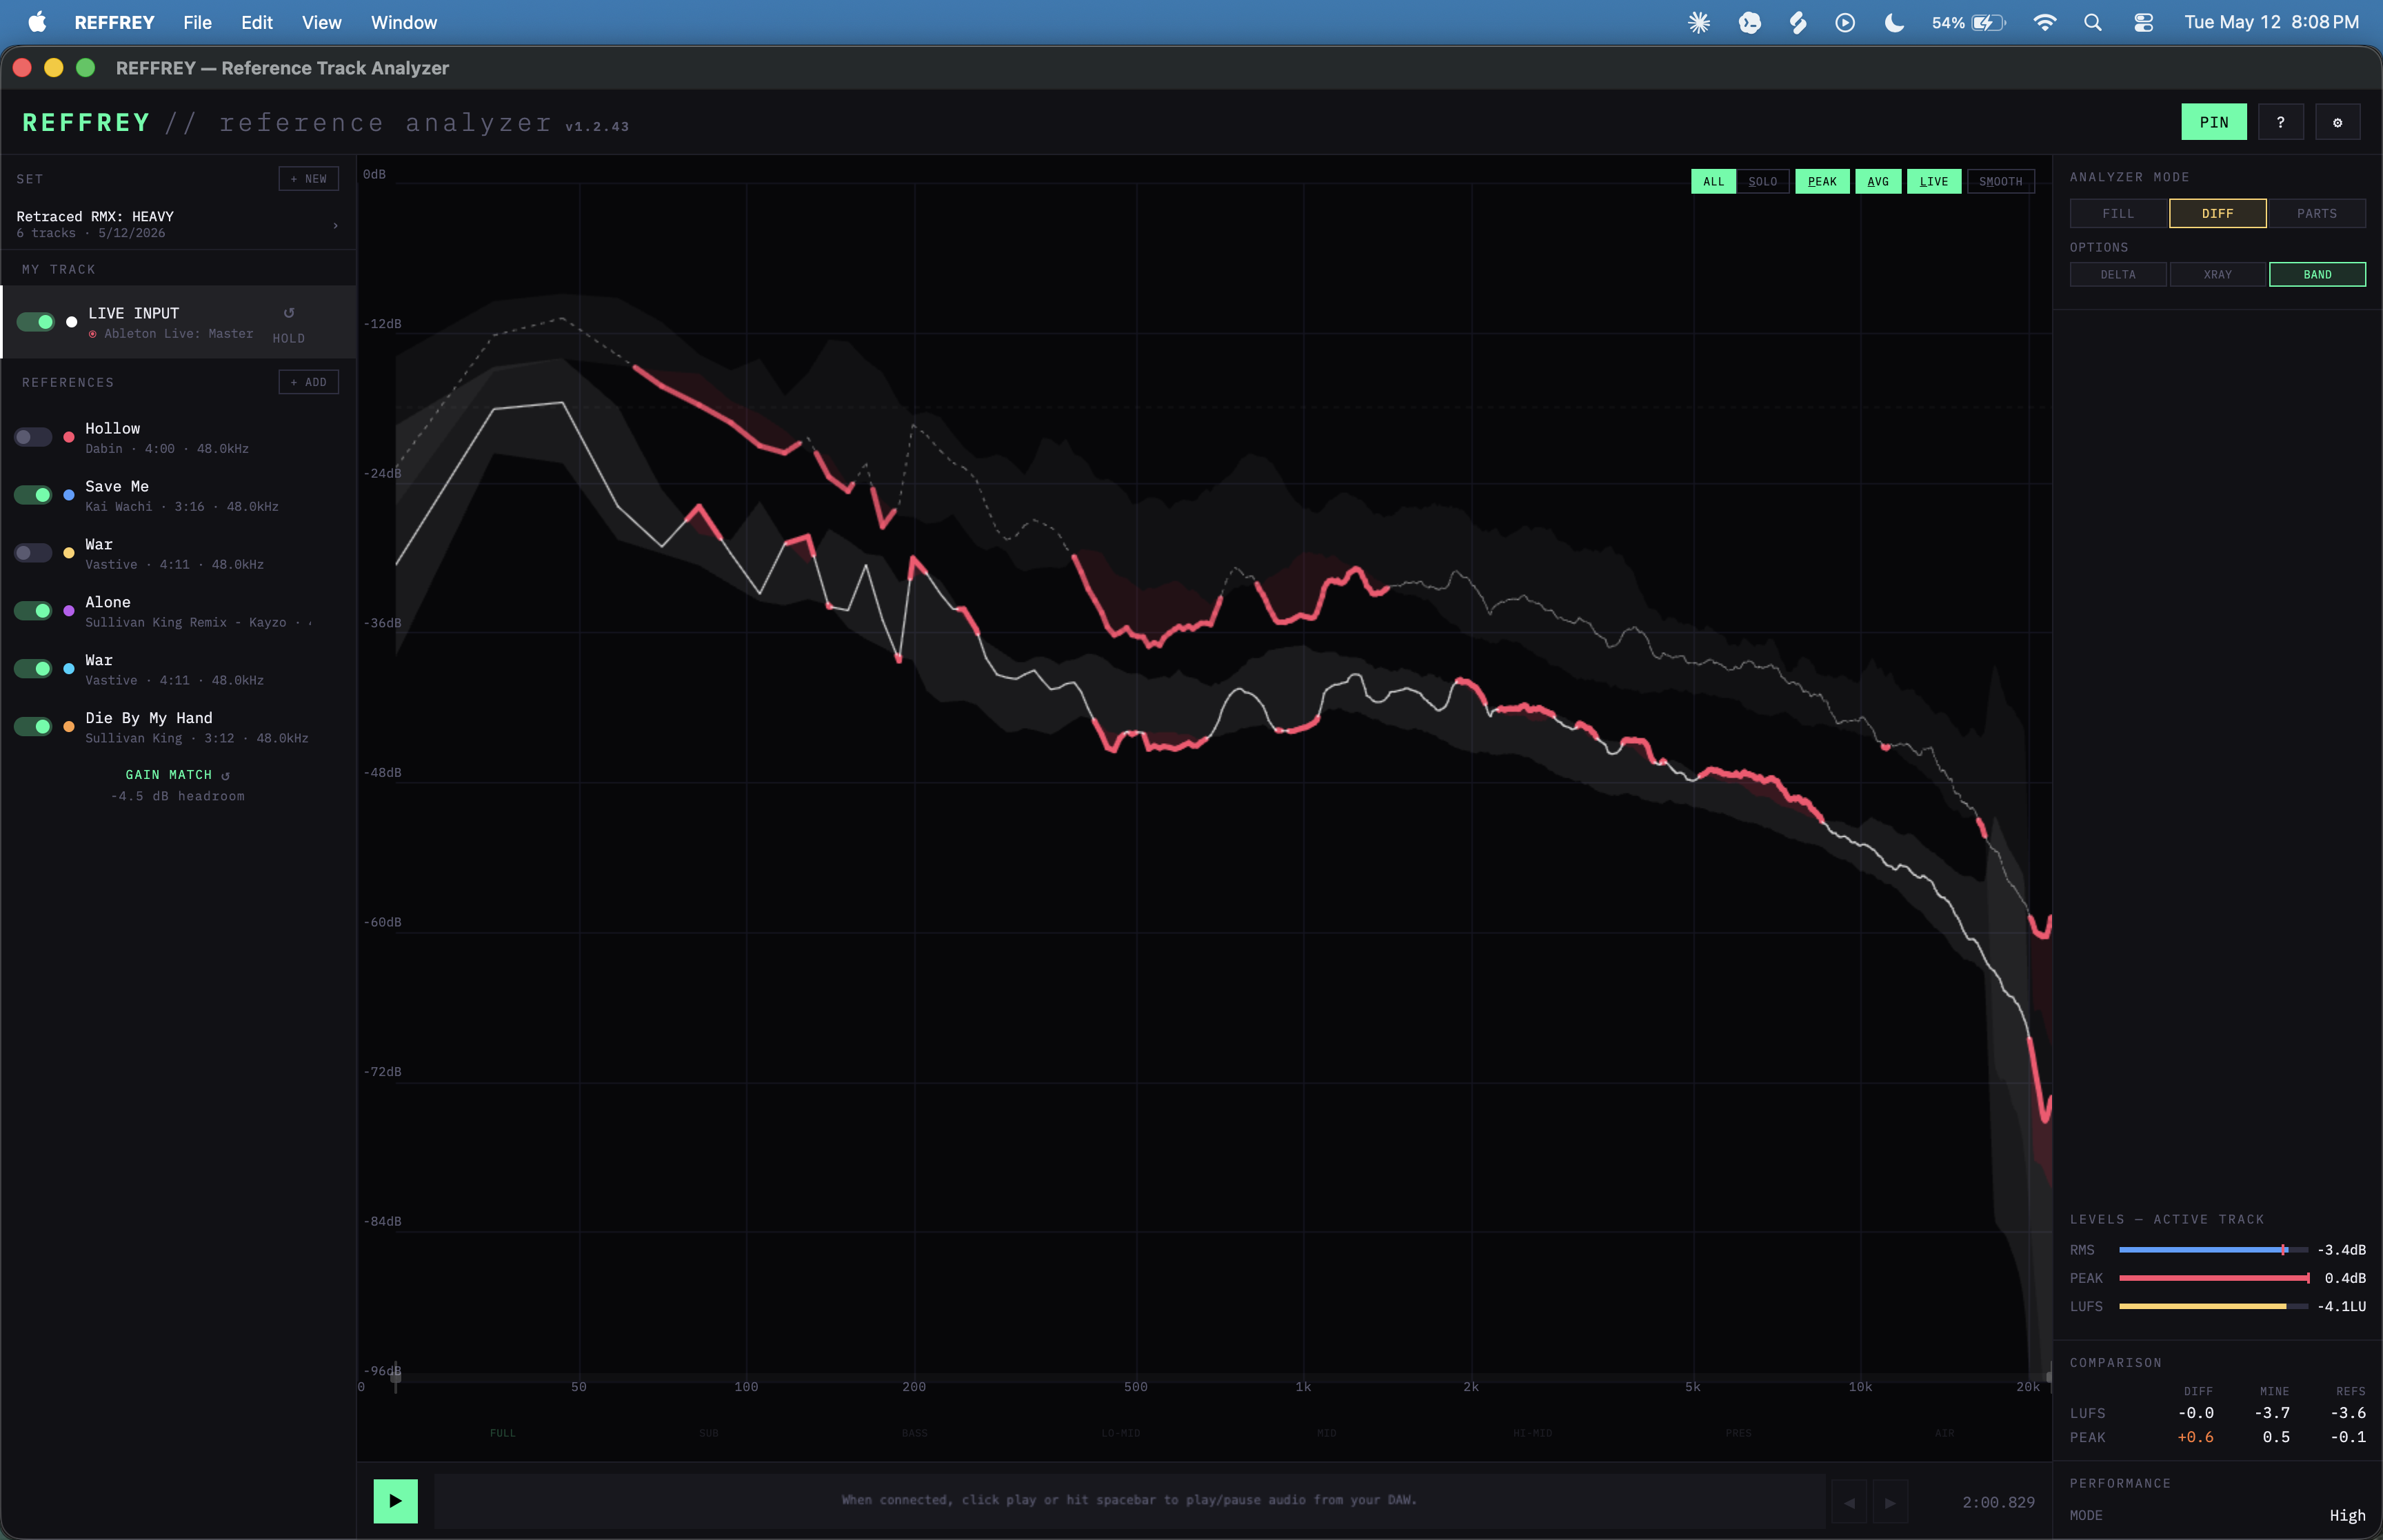
DIFF: BAND
- BAND mode provides a simpler display by intelligently combining all of your active reference tracks into a single reference band with progressive smoothing. The same smoothing is also applied to your track for clean comparison. If your track falls outside the band, it goes red.

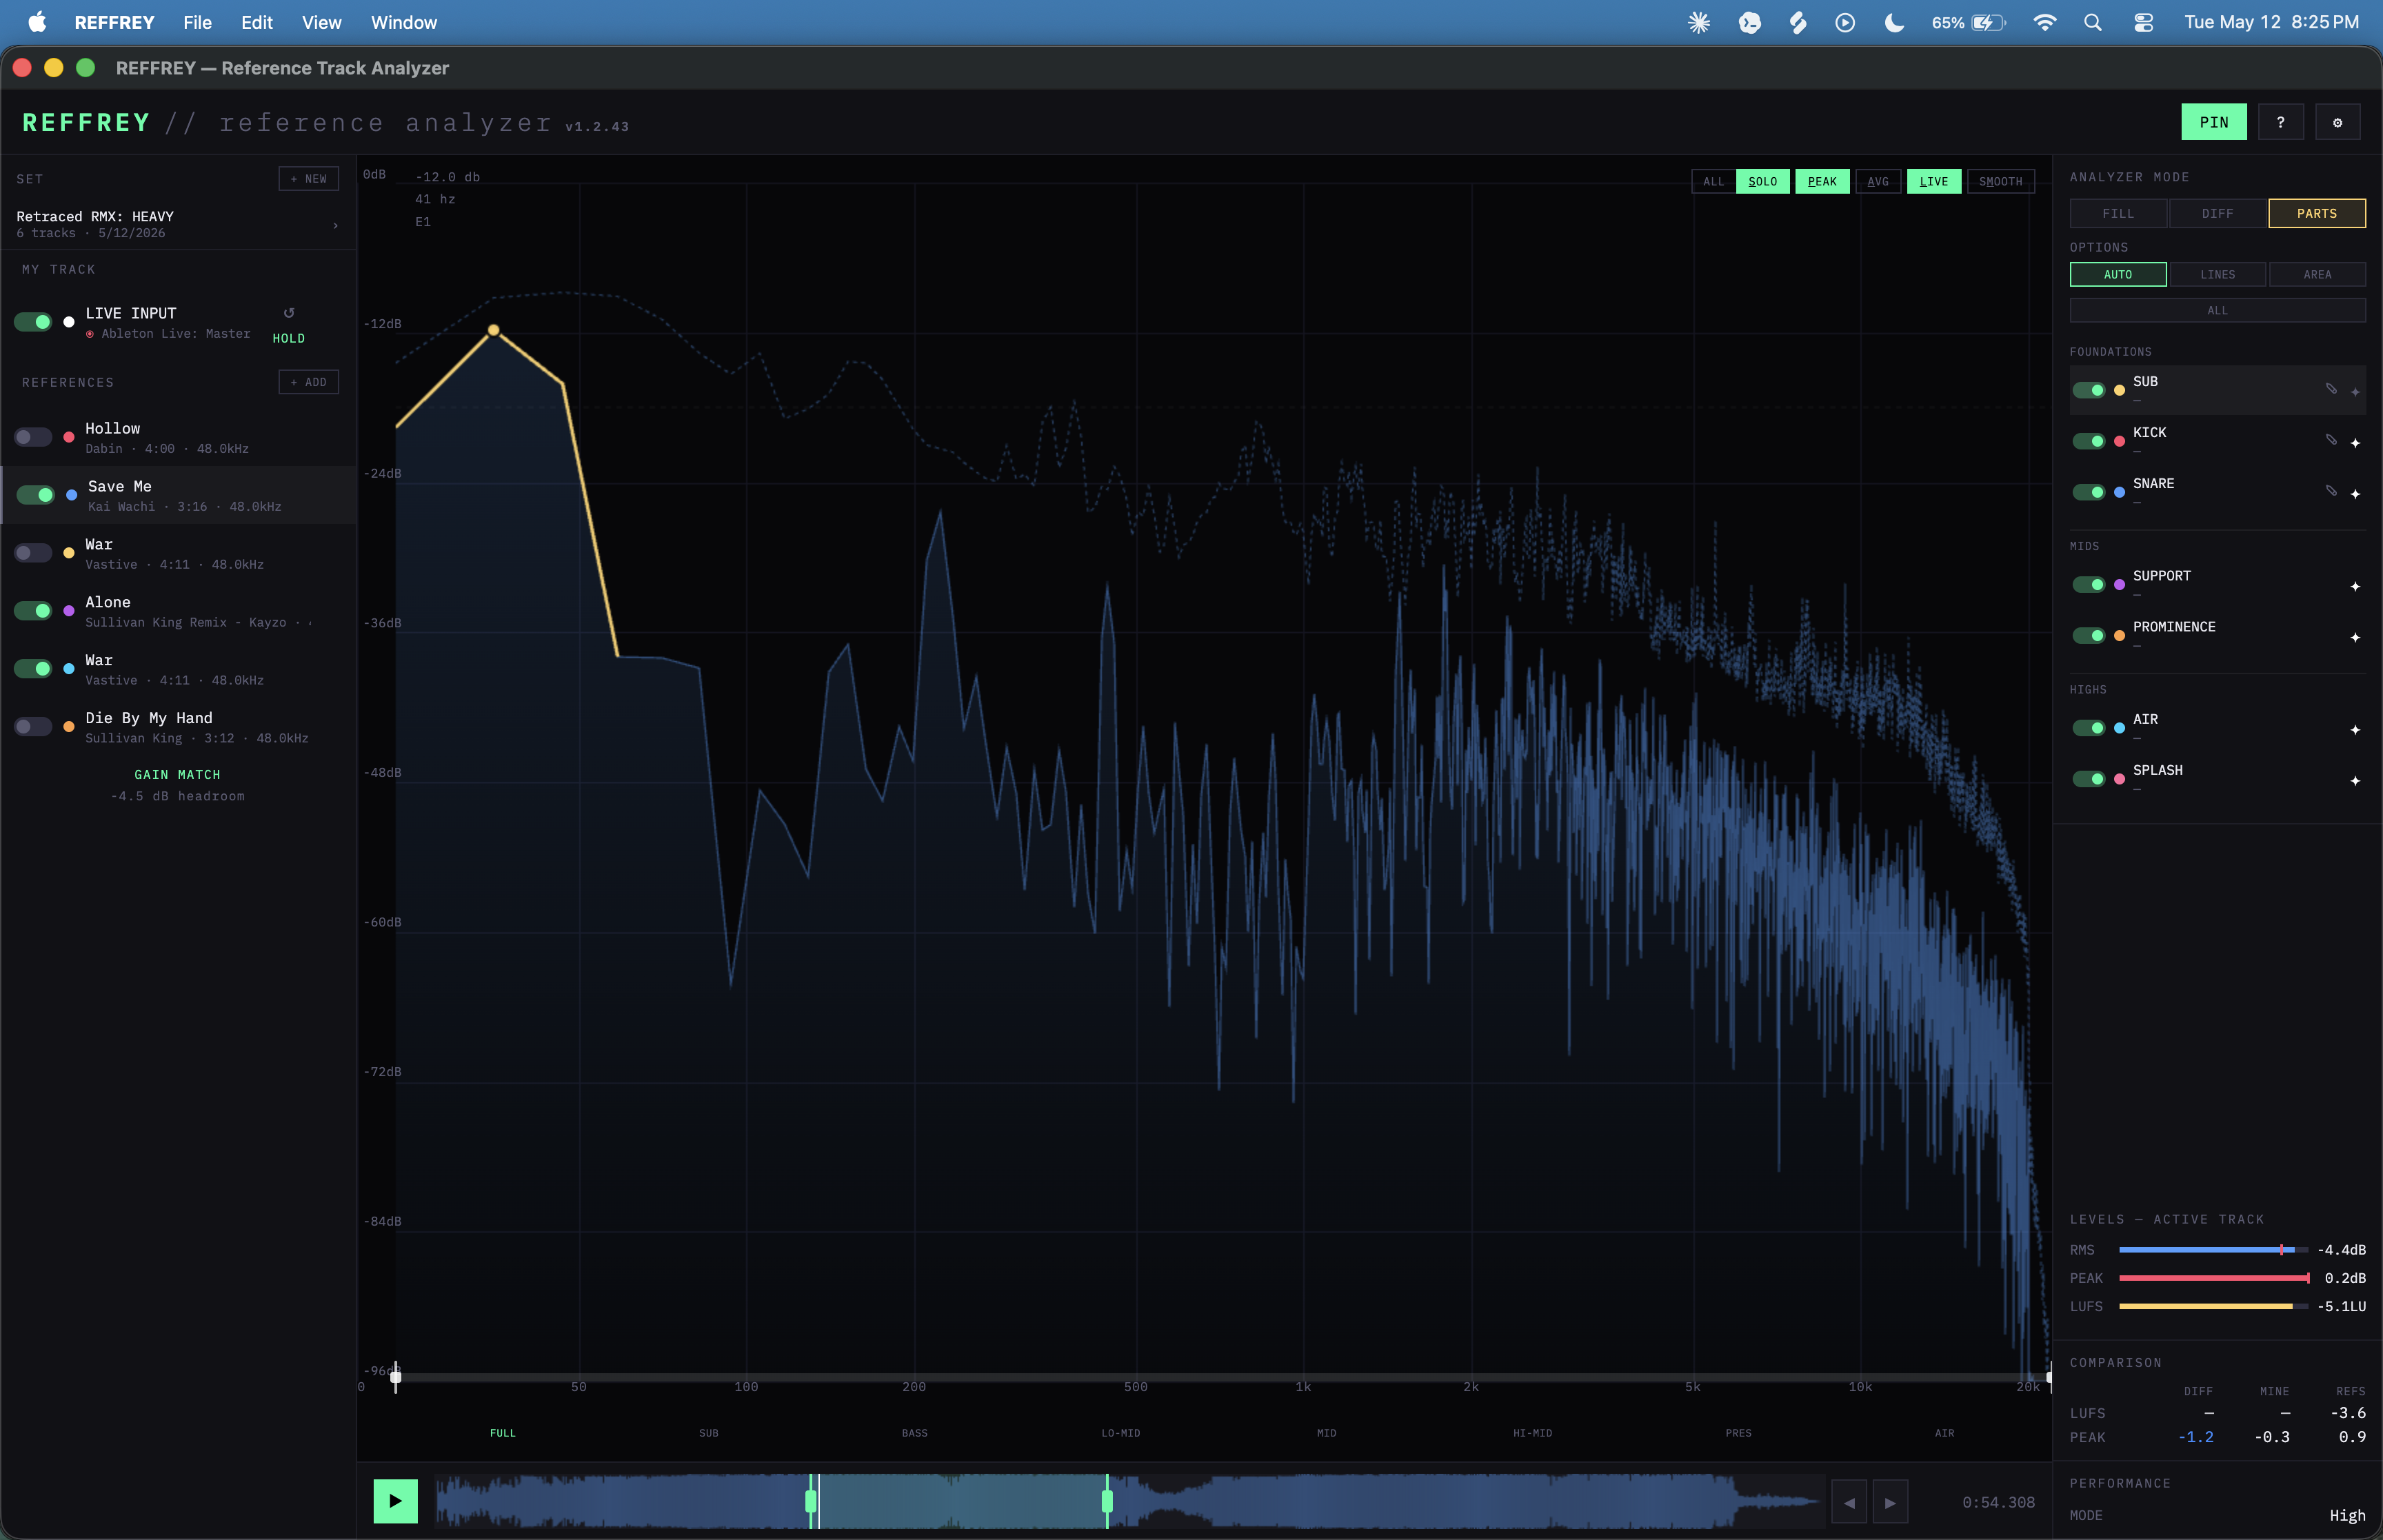
PARTS
- PARTS mode shows where individual musical elements sit in your reference tracks, and superimposes those elements onto your track to help you compare parts like SUB, KICK, and SNARE directly.
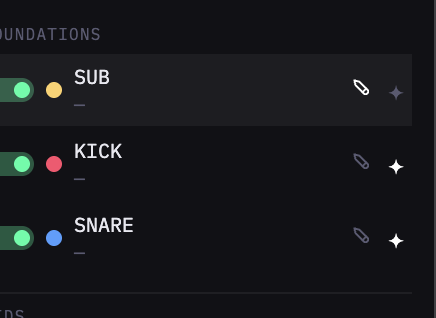
- REFFREY draws PARTS automatically, but it's not perfect (yet), so you can also draw in the PARTS manually. To do so:
- Select the PART, pause the track, and hover over the LIVE line. Segments of the line will be highlighted as you hover.
- Click to save the highlighted segments to the selected PART. Repeat to add more segments until you're happy with the shape. If you already have segments saved and click again, the higher of the two line segments will be saved, making it easy to keep adding to a part until you've captured the whole thing. Due to sampling rates, it can be helpful to draw a few different instances of KICK and SNARE to catch portions that may be missed by one sampling window.
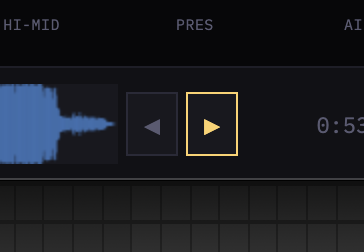
- BIG PRO TIP: use the step forward / backward buttons (or hold Shift and press ⬅️ LEFT / ➡️ RIGHT arrow keys) to step through the track one FRAME at a time for exquisite detail and control while drawing PARTS.
Setup
Use REFFREY as a standalone app
- Open REFFREY directly from your Applications folder, Start menu, desktop shortcut, etc. (no DAW required)
- Upload your tracks
- Get REFFing
Use REFFREY with your DAW
- Add the REFFREY plugin to your DAW master channel after all effects, limiters, EQ, etc.
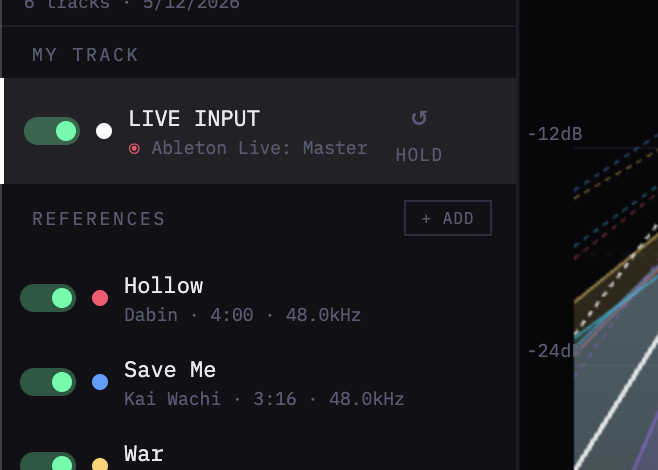
- In REFFREY, select 'LIVE INPUT' from the 'my track' section
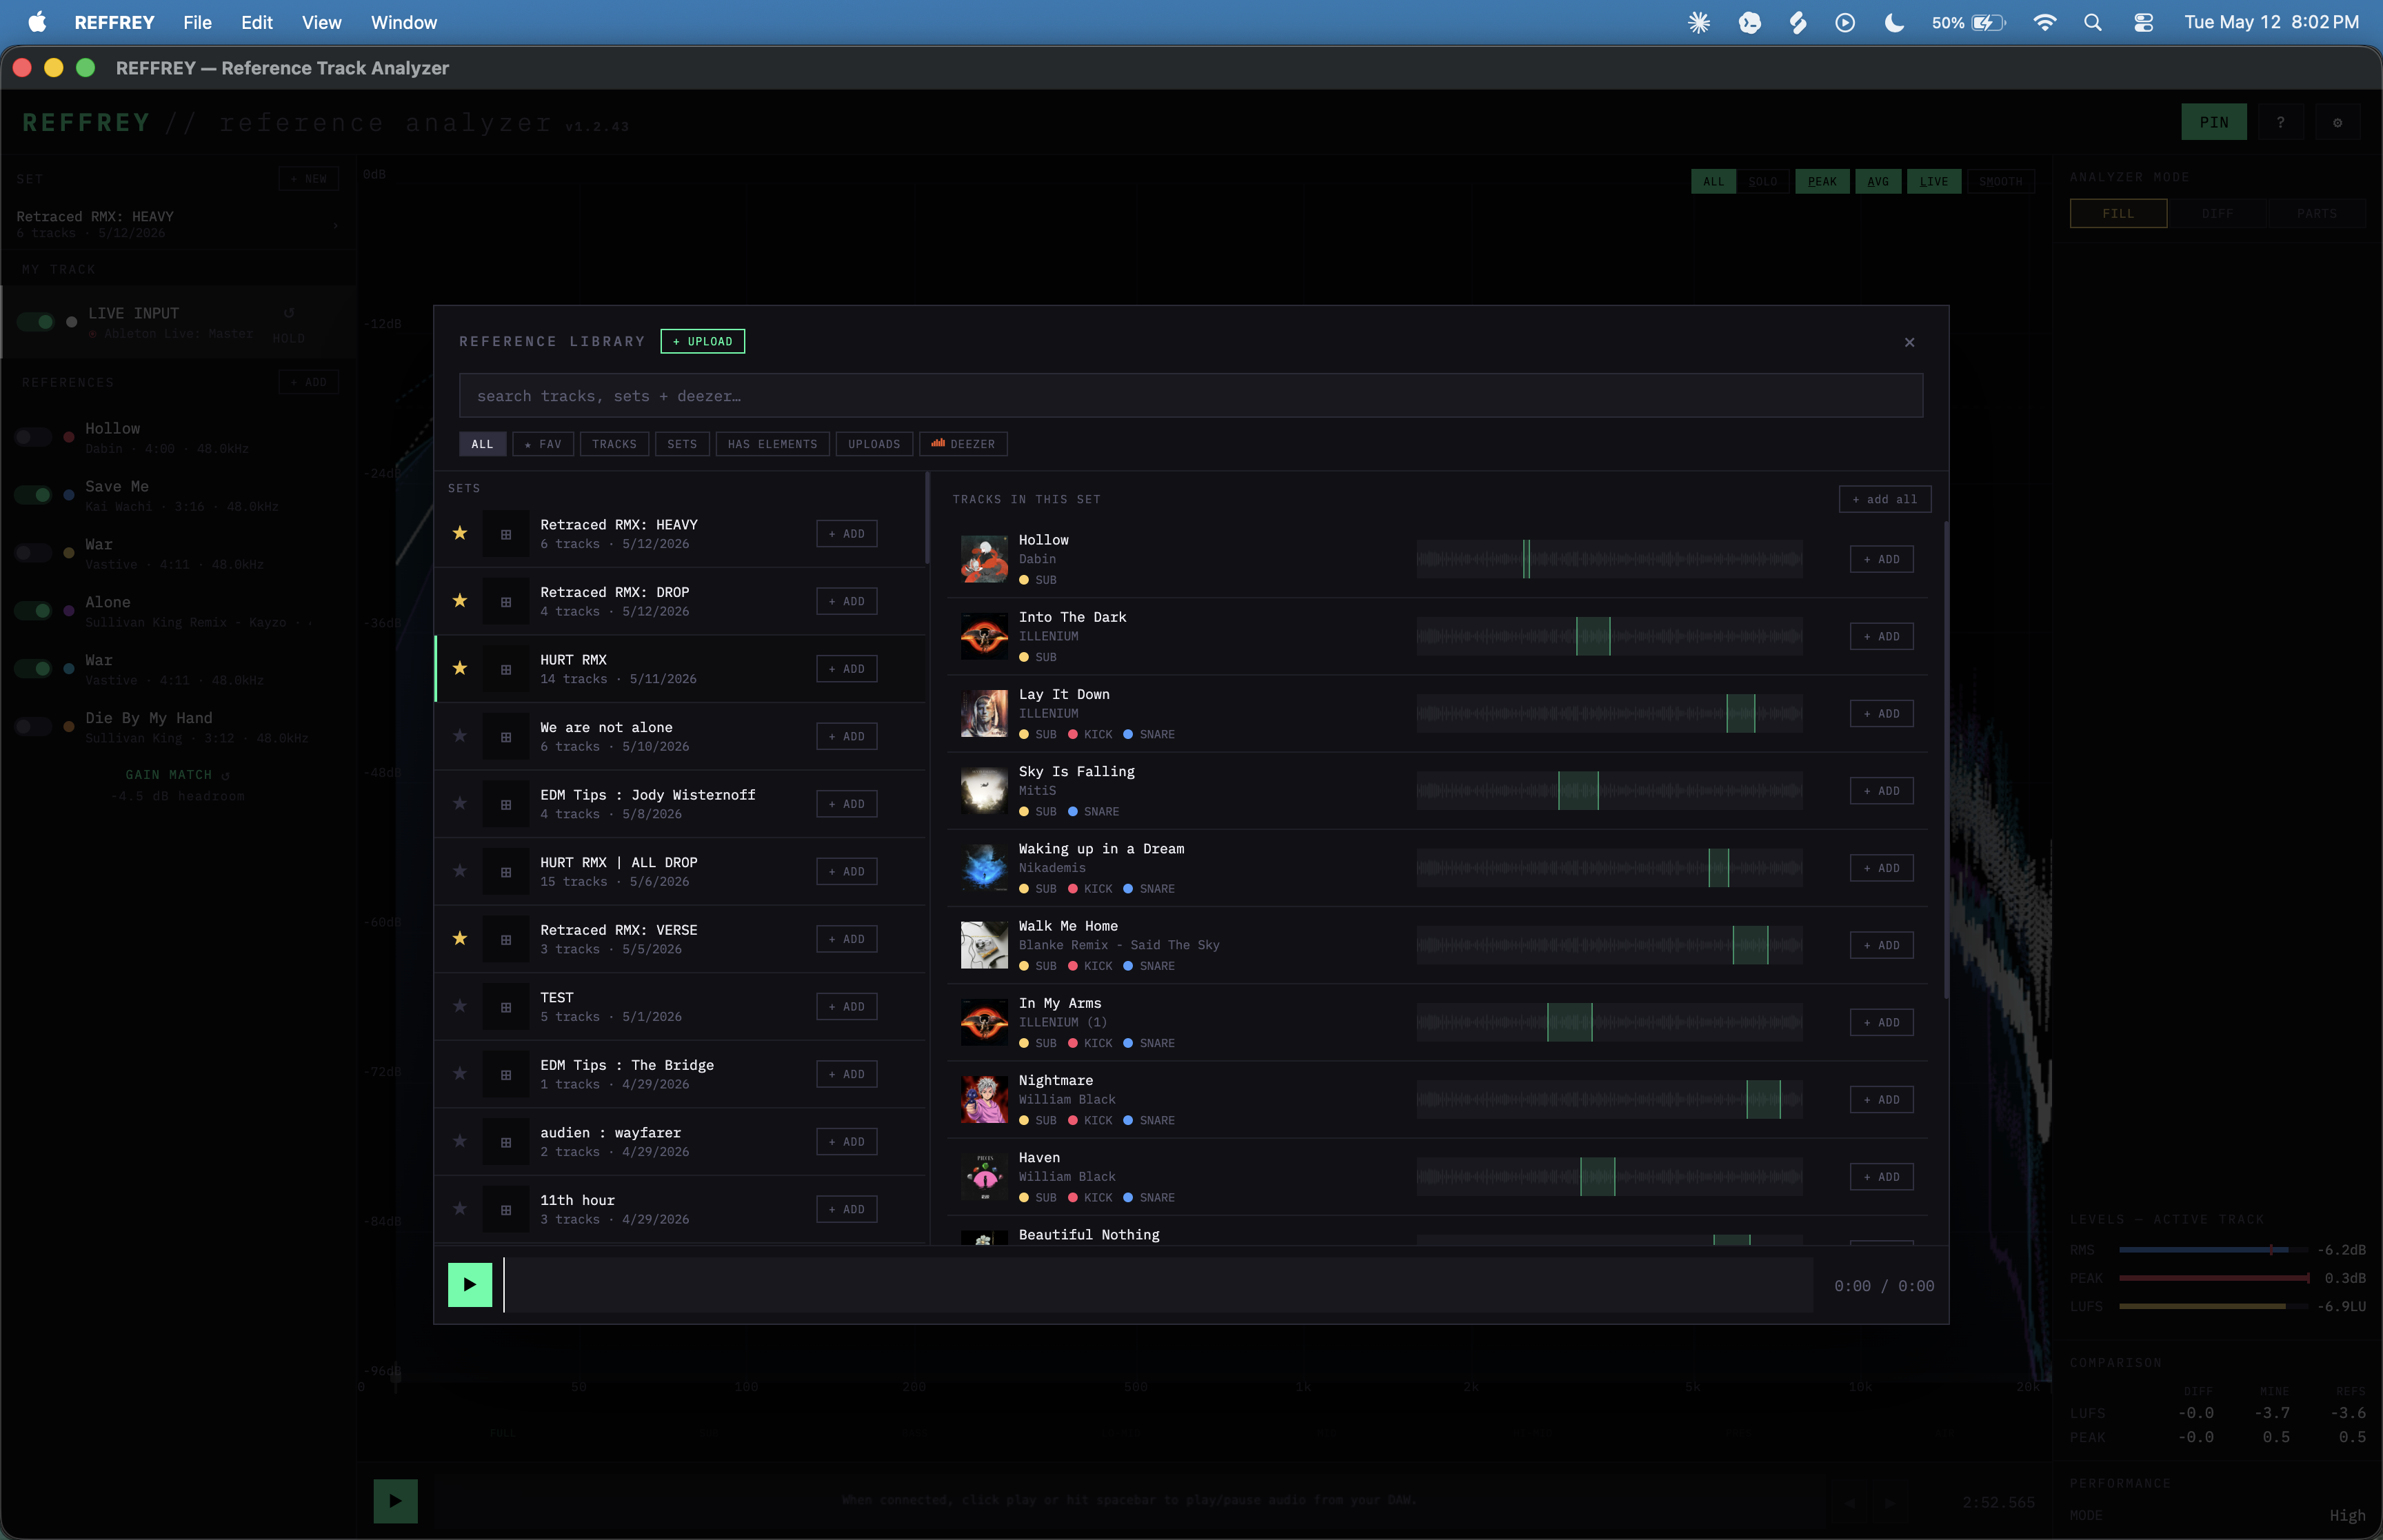
Add reference tracks (4 methods)
- Open the reference library (ctrl+F / cmd+F keyboard shortcut)
- Upload new reference tracks (wav, aiff, mp3, etc.)
- Add from your saved reference tracks
- Add saved reference SETS (major time saver)
- Search and import Deezer clips 🤯
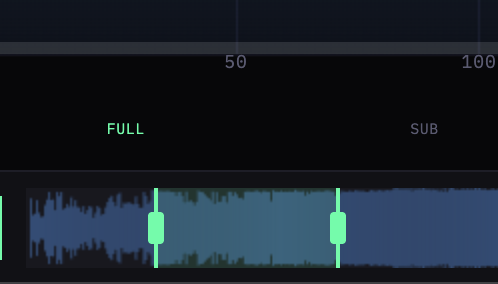
Set loop points
- With tracks added to your set, drag the beginning/end points on the waveform
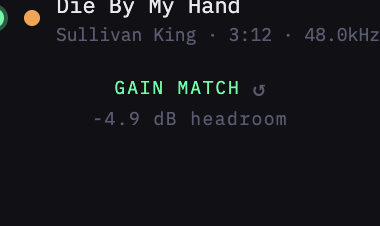
Gain match (aka level match or loudness match)
- If using LIVE INPUT, play your track for about 5 seconds to allow REFFREY to determine your track's integrated LUFS (shown in the 'Comparison' panel on the right)
- Once LUFS is calculated, you can click the 'GAIN MATCH' button shown below your reference tracks
- You can refresh GAIN MATCH at any time with the 'refresh' icon
More
Switch between tracks
- You can quickly flip through all tracks by clicking, or using the keyboard ⬆️ UP / ⬇️ DOWN arrow keys. This includes switching to and from 'my track' and can be done while tracks are playing.
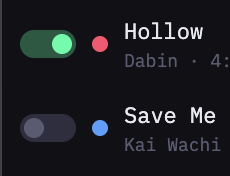
Enable / disable reference tracks
- Turning reference tracks on/off adds and removes their data from the visualizer without removing the track from the set.
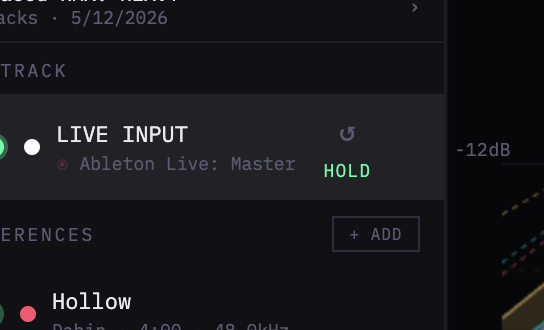
HOLD and refresh LIVE INPUT data
- To refresh accumulated data (LUFS, PEAK and AVG curves, etc.), click the refresh icon on the LIVE INPUT track. You can do this at any time, in both HOLD and non-HOLD modes
- To enable HOLD mode, click the 'HOLD' button on the LIVE INPUT track (green = HOLD is ON, gray = OFF). When switching HOLD on or off, the data will automatically refresh so that it's not contaminated by the previous state.
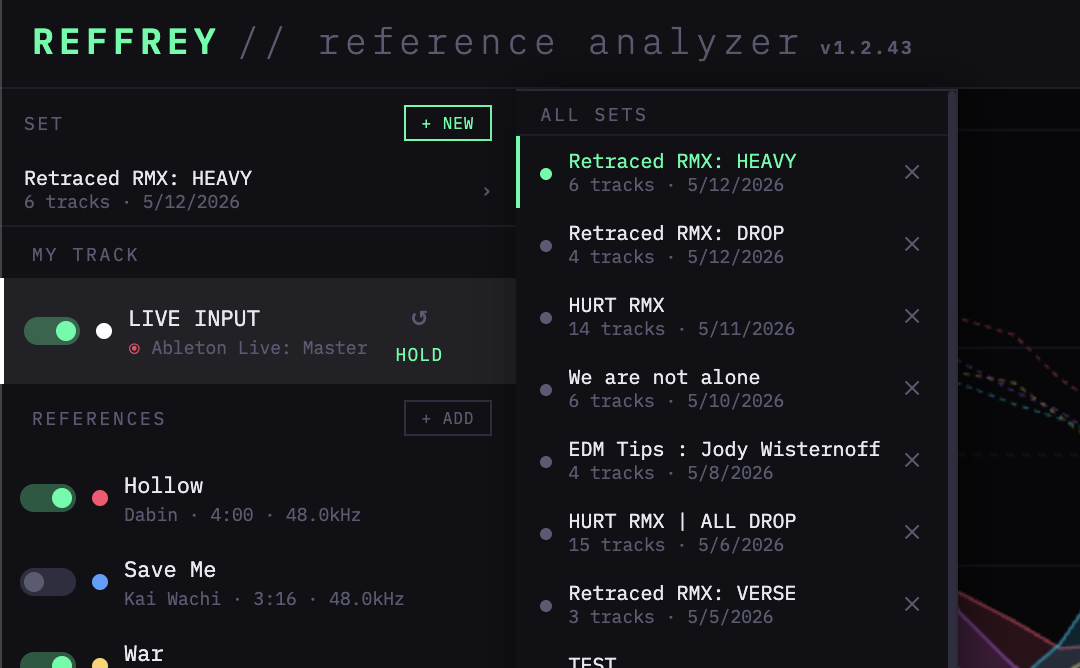
Creating new SETS and switching between saved SETS
- In the 'SET' section, click '+ NEW' to create a new set
- To save the new set, add at least one track and click the 'SAVE SET' button below the references
- Hover over the 'SET' section in the left panel to select from your saved SETS
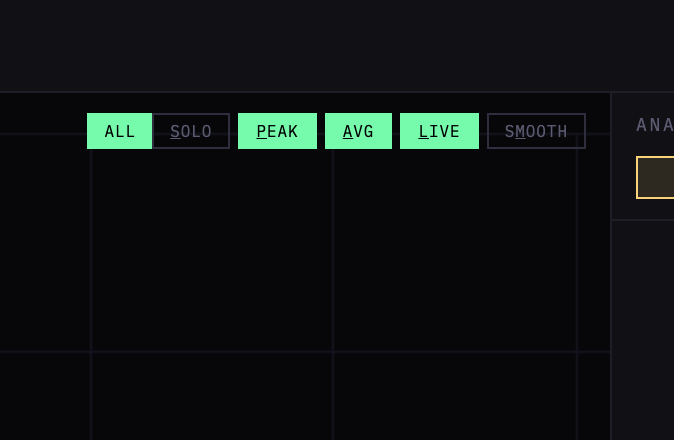
Visualizer controls
- All / Solo (S keyboard shortcut) toggles between showing all enabled data or only the selected track
- PEAK (P keyboard shortcut), AVG (A keyboard shortcut), and LIVE (L keyboard shortcut) buttons show and hide their respective curves
- SMOOTH (M keyboard shortcut) toggles LIVE curve smoothing on and off. When off, the LIVE data is shown in full detail with no averaging. Sampling rates still apply.
'Small' mode
- As you resize the app window, REFFREY will automatically hide the left, top, and bottom panes to give the visualizer more room
- To access the left panel, hover over the area and it will open
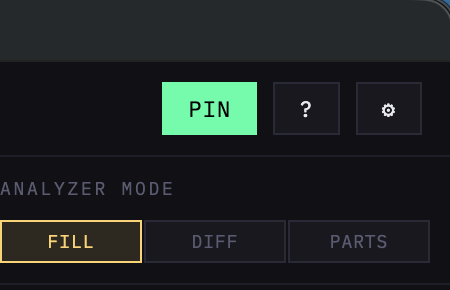
PIN to top
- 'PIN' will ensure that REFFREY is always on 'top' of other applications, like your DAW. You can turn this off by clicking the PIN button in the top right. If the button is hidden, you may need to resize the app window to increase its size to expose the button.
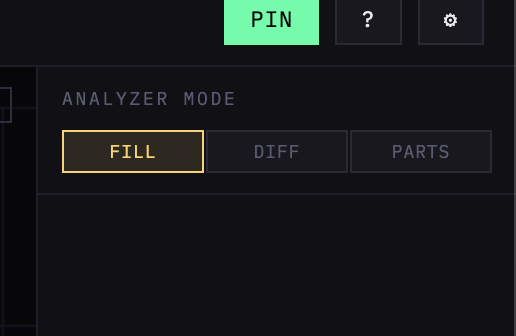
Switching analyzer modes
- To switch between analyzer modes, use the ⬅️ LEFT / ➡️ RIGHT arrow keys on your keyboard, or click on the analyzer mode buttons.
- Once in PARTS mode, the ⬅️ LEFT / ➡️ RIGHT arrow keys will cycle through the PARTS.
REFFREY // reference analyzermacOS · Windows · © 2026 REFFREY